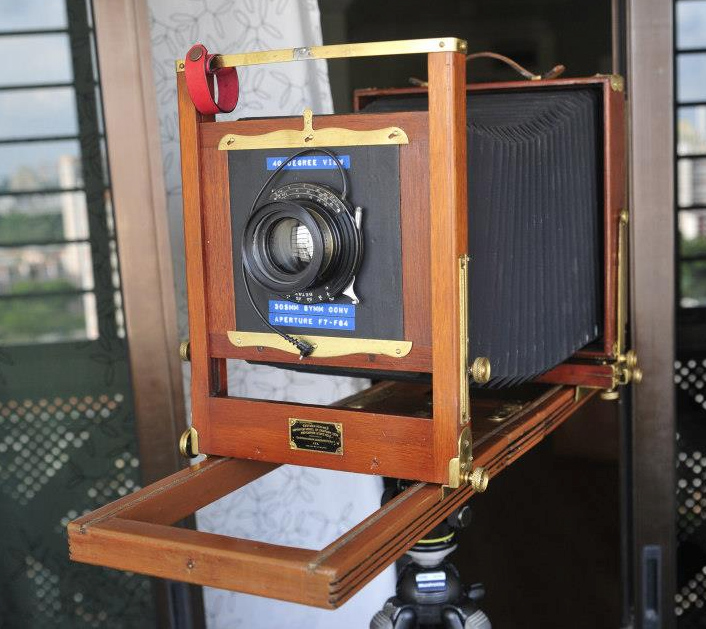
My Eastman no 8×10 camera
There is a rekindled interest in 8×10 photography after a few NEW sub-$1k 8×10 cameras appeared in the scene. The most notably would be the Intrepid 8×10. As of this writing, it has far exceeded its lowly set target £18,000 goal with 255 backers. That would means there is going to be at least 220(less those who backed for non camera reward) 8×10 cameras out there. I guess that there maybe 150 new 8×10 cameras users while the rest are existing 8×10 users who are just buying another lighter and cheaper camera.
What does this means? This means there will be an increased demand for
- 8×10 lenses
- 8×10 film
- tripods and tripod heads
- processing equipment such as paper drums and tanks
Here i share my own experience in shooting in the 8×10 format.
8×10 lenses
The most important factor to look out for when looking for a 8×10 lens is the image circle. The minimum image circle to cover the 8×10 format is 12.8inches / 325mm (the diagonal of the film size). Ideally you should have a lens that has an image circle greater than 325mm if you intend to use movements which you normally would. After all, camera movement is a unique feature of a view camera. Next up for consideration is the focal length of the lens. A 300mm lens will be about the standard lens for the 8×10. A 210mm lens will be considered wide on the 8×10 lens. To get its estimated equivalent focal length in 35mm terms, simply divide the focal length by 8.
While there are vintage lenses or barrel lenses out there in the used market, I would suggest getting one with a modern Copal shutter for a start. There are some good old lenses with old shutters but most of these shutters are at least 50-60 years old and many shutter mechanism in thet are worn out. Even the well know camera machinist shop , SK Grimes does not take in any more vintage shutters for repairs or CLA. Whereas a good Copal shutter will last you many more years to come and still serviceable.
You will be glad to know that with a big negative like 8×10, you will need less demanding performance from the lens so 8×10 lens are relatively cheaper compared to a high performance 35mm lens. After all, for the same scene, the 8×10 lens would need to resolve less lines per mm. I use the Schneider G-Claron 355mm lens with a Copal 3 shutter. The image circle of this lens is 444mm at f22 allowing quite a bit of movements on the 8×10. I also have a cheap Seneca 305mm f7 lens which is using a old Betax No 4 shutter.
There are other ways to work with vintage or barrel lens such as using a Packard shutter or shooting with low ISO paper negative or wetplate. However if you are new to 8×10 or just shooting 8×10 film, go for a lens with a Copal shutter first. Other lens experiments can come later!
8×10 film
If we are talking about panchromatic silver gelatin film, you only have a few choices from these 3 manufacturers Ilford, FOMA and Shanghai.
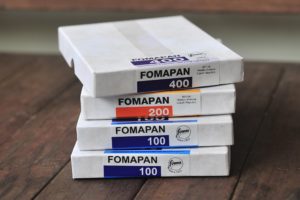
FOMA Fomapan 8×10 fim
I have been using FOMA 8×10 film for the past 6 months and have been happy with it. It is a good balance between price and performance. I have also used Shanghai 8×10 before but their supply has been a bit erratic after they shifted their factory but I see that they are back on the market again. For me, I will stick to FOMA film for now. Ilford 8×10 film is about double the price of a FOMA sheet so I have not used any Ilford 8×10 film before.
Another cheaper alternative is 8×10 Xray film such as those produced by Fuji. However it is an orthochromatic film ie it is not sensitive to red light and is also of high contrast. Most of the Xray film are coated on both sides and making it susceptible to scratches when wet. I have tried a box and must say they are quite cheap to use and very suitable for alternative printing where a high contrast negative is desirable.
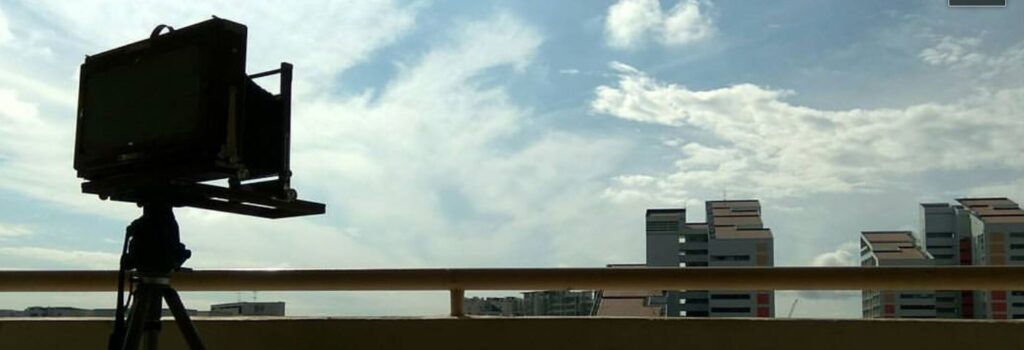
Tripod & tripod head
First thing is to ditch your ball head no matter how big and strong it is. A 8×10 camera with its lens is a big camera and you do not want to the whole camera to drop off when you loosen the ball. Go for a 3 axis panning head such as the Manfrotto Junior 410 head or even better the Manfrotto 3263 deluxe geared head . Match it with a set of strong tripod legs. Those who do not have a big budget can also look for the 2 axis Majestic tripod head. These heads are old, big and heavy and do not command a premium price on the used market, at least for now.
Do not be mislead into believing a lighter 8×10 camera means a smaller and lighter tripod. If you extend the bellows of the camera, it would turn into a sail or kite catching wind and before you know it, the whole camera and tripod will topple over.
Paper equipment such as paper drums and tanks
Last but not least would the film processing equipment, we have a few options for film processing
- Trays processing – just processing the film in trays in total darkness. This kind of setup would cost the less assuming you already have a darkroom or lightproof area. Just buy 3 12×16 trays and you would be good to go.
- Another kind of tray processing is using the Paterson Orbital processor where you will be processing one sheet at a time. It is a daylight tank where you load in the sheet in total darkness and then carry on the processing in daylight. These are hard to come by and are usually available as used in the UK ebay. Their prices have been increasing and will continue to do so.
- Rotating tanks like using Jobo paper drums or Expert drums. The paper drums are cheaper as they are designed for paper development but can be easily used for film development. You can either roll the drum by hand or build a rotary film development system
Overall any rotary system will use less chemicals than a stationary with inversion) system. I use about 250ml of chemicals for sheet for the Paterson Orbital processor and the Jobo paper drum system.
Lastly welcome to the big world of 8×10 photography.