4×5 slides on a light table
I have been shooting 4 x 5 color transparencies or commonly known as color slide film for many years but the best that I could enjoy them was to put them on the light table and viewing them through a loupe. Unlike my 35mm and 120 slides, I have never seen them projected big simply it is not easy to locate a 4×5 slide projector.
For the last few years, I tried searching online on how to do it yourself (DIY) and build a 4x 5 slide projector but no one seems to have make them before. There are commercially produced 4×5 slide projectors although I never seen one in real life. I have not even seen them on the used market on eBay before but even if they are available they are going to cost a lot and even more to ship.
It was only recently that I saw this YouTube video by DIY Perks on how he made a 4K LCD projector that triggered me to think about making a 4×5 projector again. in this video he explained how he made use of the Fresnel lens instead of the conventional thick condenser lens.
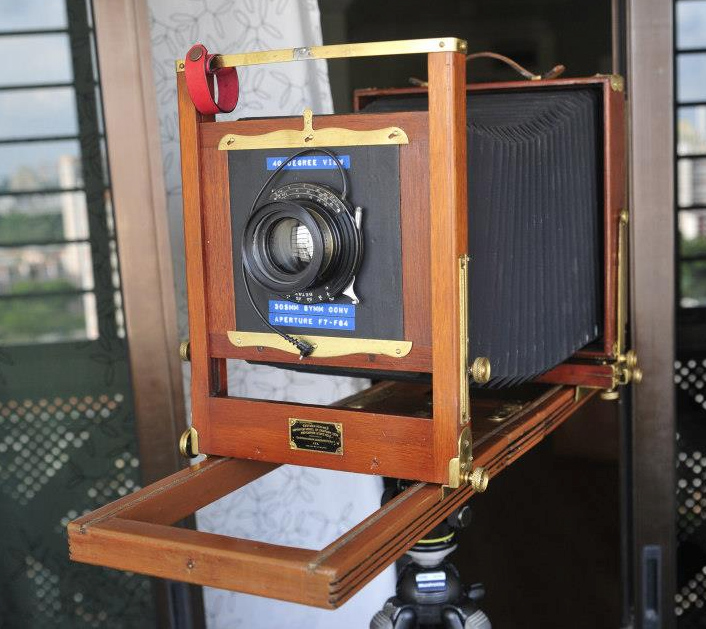
With this new knowledge, I started to think how I can convert my Afghan box camera into a slide projector. For those who do not know the Afghan box camera, it is a camera and darkroom built into a single box. If you need more info on how to build one you can refer to this amazing ebook by Lucas Birke on his Afghan box camera project .
Light source
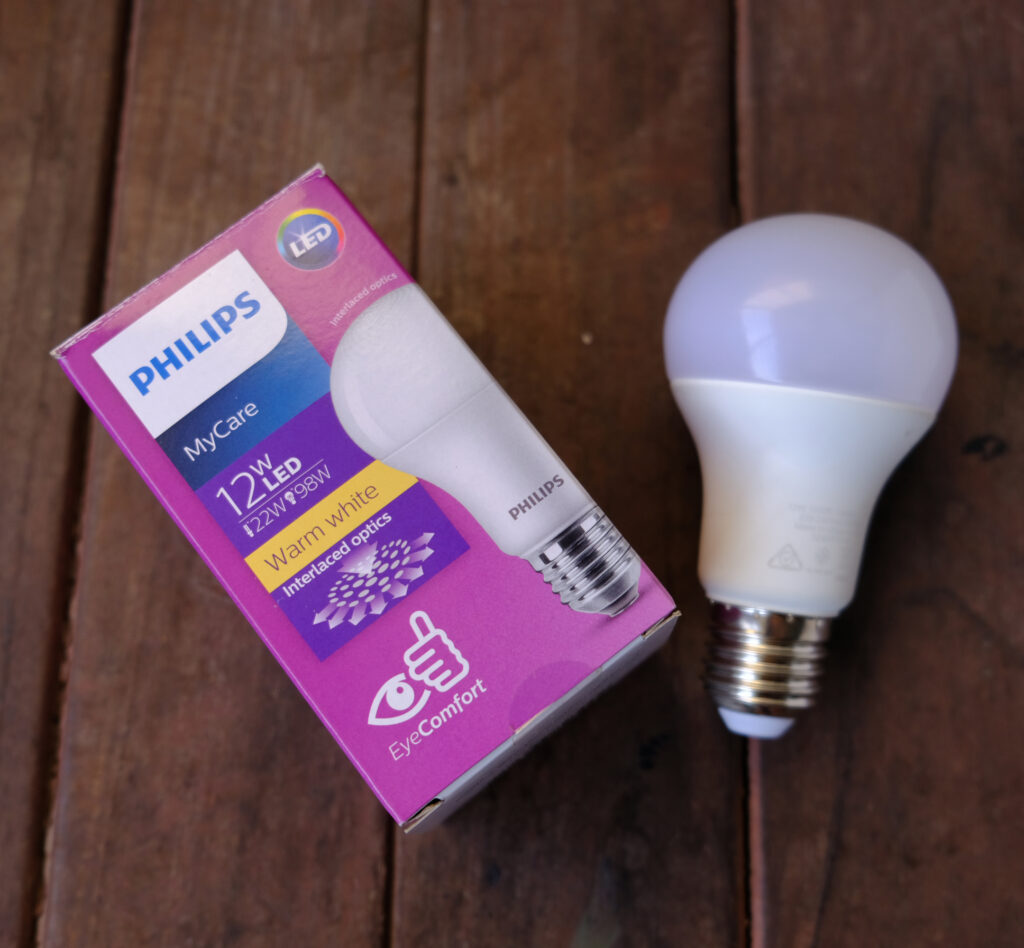
Philips 12B LED light bulb
The most important part of the side projector is a powerful light source. The conventional projector will use powerful but hot incandescent or halogen light bulb. However for this project I went to the store and find the highest wattage LED Bulb. This turned out to be a 12 watts LED light bulb from Philips. It is also warm light which is what slides are usually projected with. It was said the slides usually come with a blue tint to balance out the warm light.
I wired with up with a socket (WARNING : live wire is involved. DO NOT do this yourself if you are not confident or trained. ) and attached it to the back of the box camera using 2 screws.
Fresnel lens
I went online and bought 2 magnifying reading sheets that are usually use for reading but I guess they would work for this purpose. On every sheet there will be one side that is make up of the Fresnel lens which is a series of concentric circles and the other side will be smooth so it is important the place that sheets in the right orientation. The one nearest to the light bulb have the Fresnel lens facing away from it and the other piece will have the concentric circles facing the bulb. In this manner, the light from the bulb will be collimated By the first piece and converged by the second piece.
It is also important to find out the true focal length of the Fresnel lens. TheDIY perks video shows you how. My 2 lenses have focal length of 90mm.
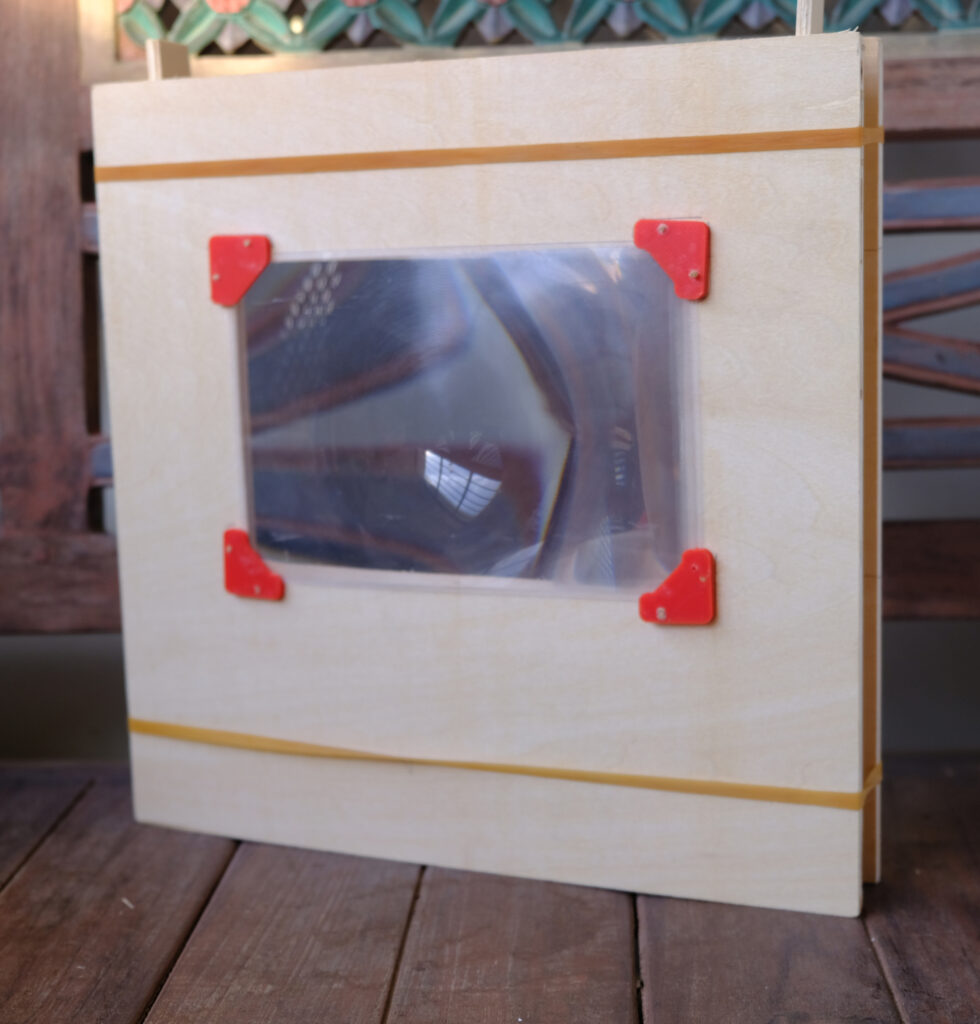
To mount the lenses I just got two pieces of plywood with a window cut in the center and I 3D printed some corners to mount the lenses to the plywood. To attach the 2 Fresnel lens plywood in the Box camera I just use 2 narrow strips of plywood and 2 elastic bands to act as a spacer between the 2 boards. The idea here is to be able to convert this back to a box camera instead of turning it permanently into a slide projector.
Lenses
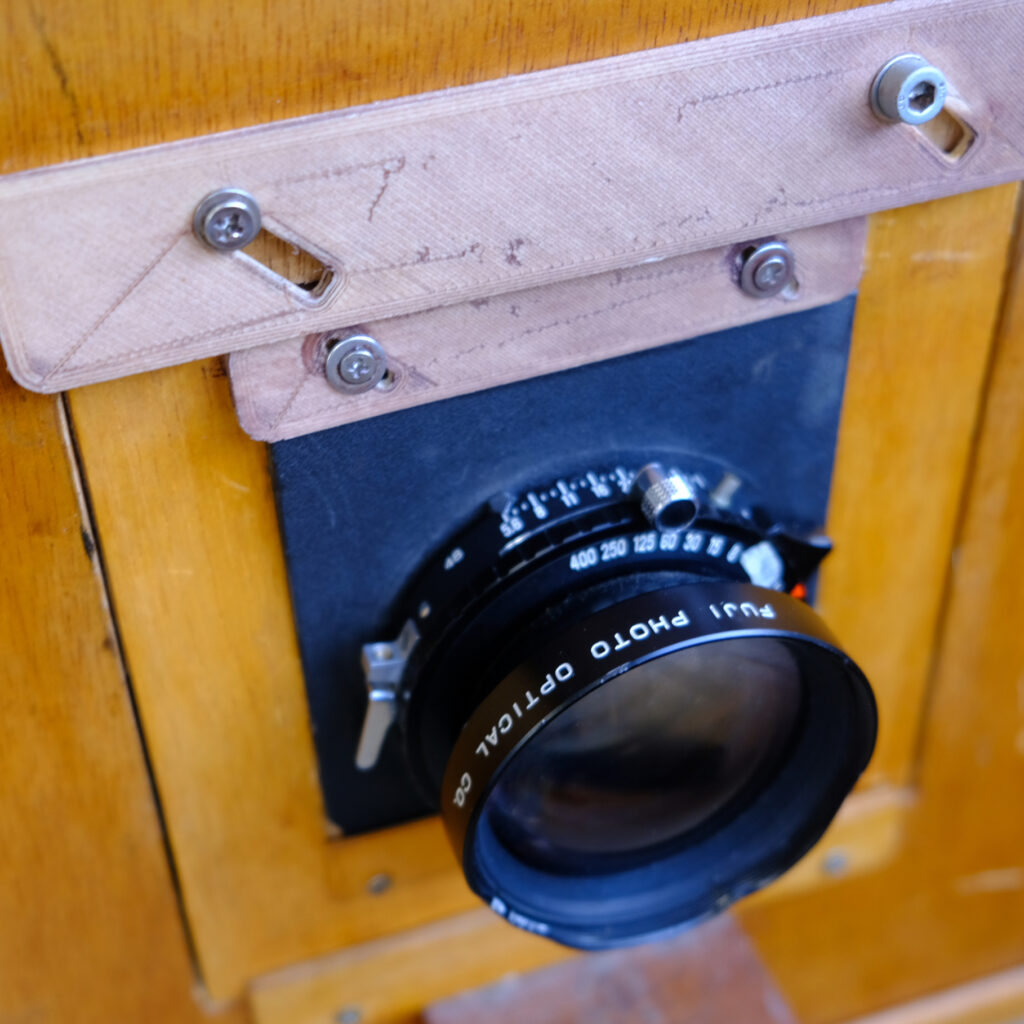
Fujinon 210mm lens
For lens I continue to use my Fujinon 210mm lens which is my
large format photography shooting lens . I find that it still do a decent job in projecting the image however I’m not sure sure if there is a difference in projection quality if I were to use a enlarger lens or projector lens.
Focusing
In order to focus the image on the screen I use the focusing rods that is already part of the box camera system. This box camera is designed to take 5×7 inches photo negative so I removed the existing ground glass and made a 4×5 slide mount to hold it to the holder and to block off excess light .
Testing
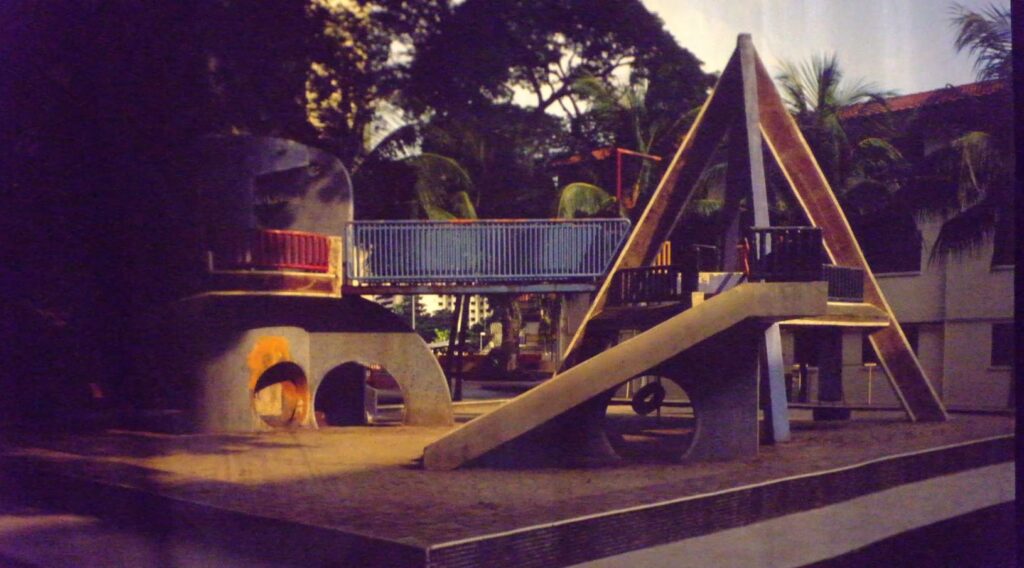
Fully projected 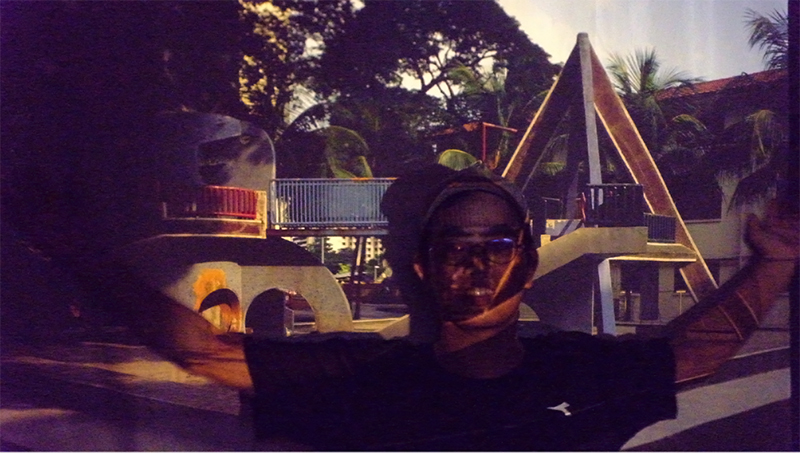
Finally I saw my 4×5 slides big!
For testing I set up a piece of 5feet white fabric backdrop mounted across two light stands and was placed see about 3 meter from the slide projector in the darken room with all the lights off. Hooya! I was able to get a good image on the screen! I was certainly very impressed and I to be able to see my large format slides on such a big screen finally !
Conclusion
While this slide projector is not bright enough to be used in an auditorium, it is good enough for personal viewing of 4×5 slides at home. You will need a very dim room to enjoy the slides at a view distance of 3 metres. There are certainly room for improvements but that will be for another DIY made.