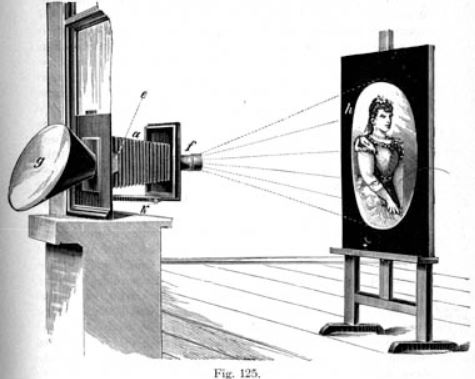
In my previous post, I shared how I converted my Afghan Box Camera into a slide projector. The principle of the slide projector involves putting a light source at the back whose light passes through some condenser lens. The light then goes through the slide and finally pass the projector lens and be projected big on the the projector screen.
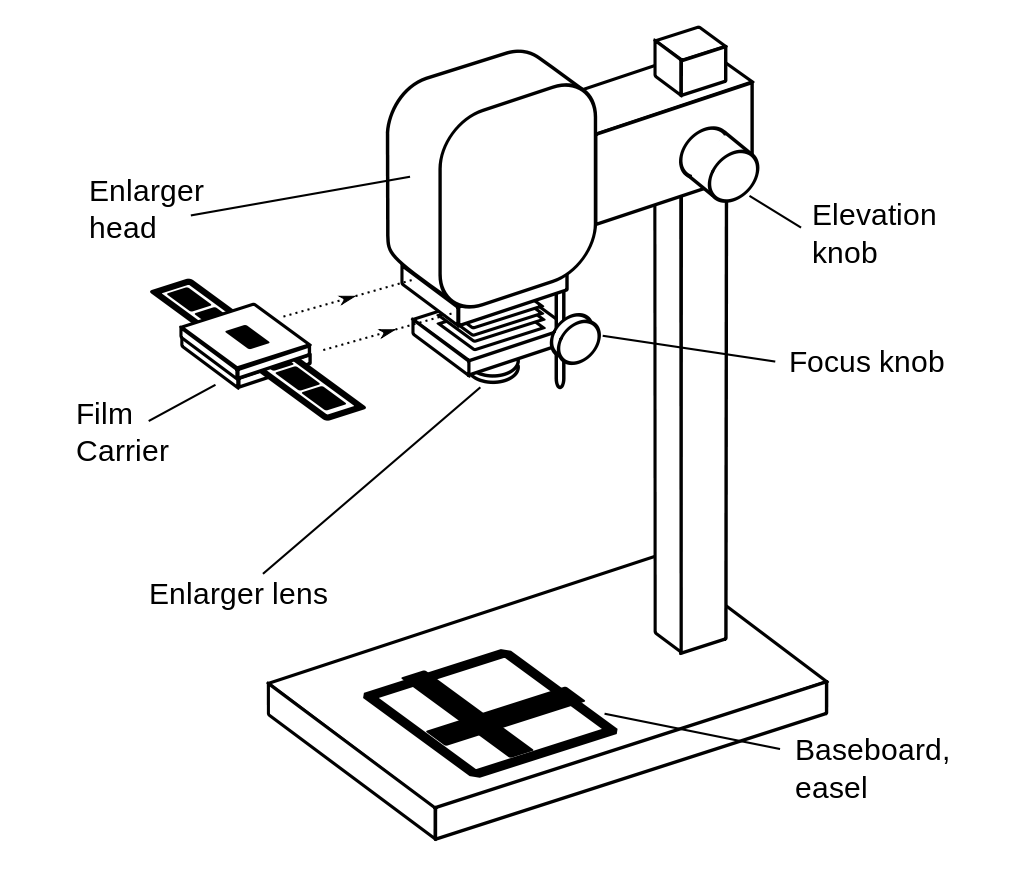
I thought that would be about the same principle as a photo enlarger in the dark room. In the enlarger we have also the light pass through some condenser lens (depending on the design) and it will pass through the negative, go through the lens and it will be projected big on the photo paper so I thought maybe I would try to use my Afghan Box Camera again to convert it into photo enlarger in this case it will be horizontal enlarger where I will project the image horizontally onto the wall surface.
Negative Carrier
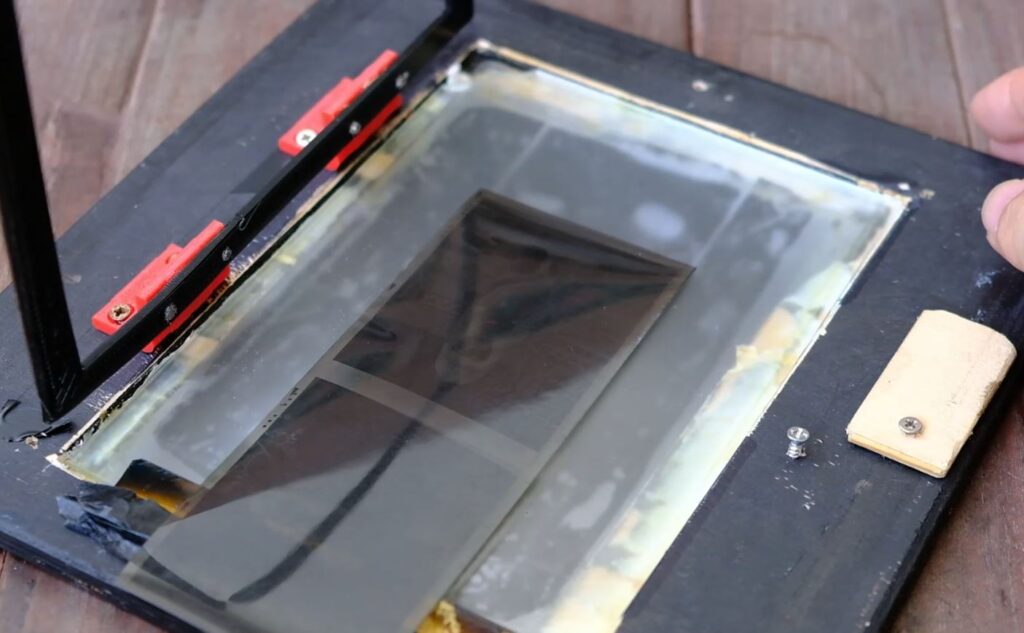
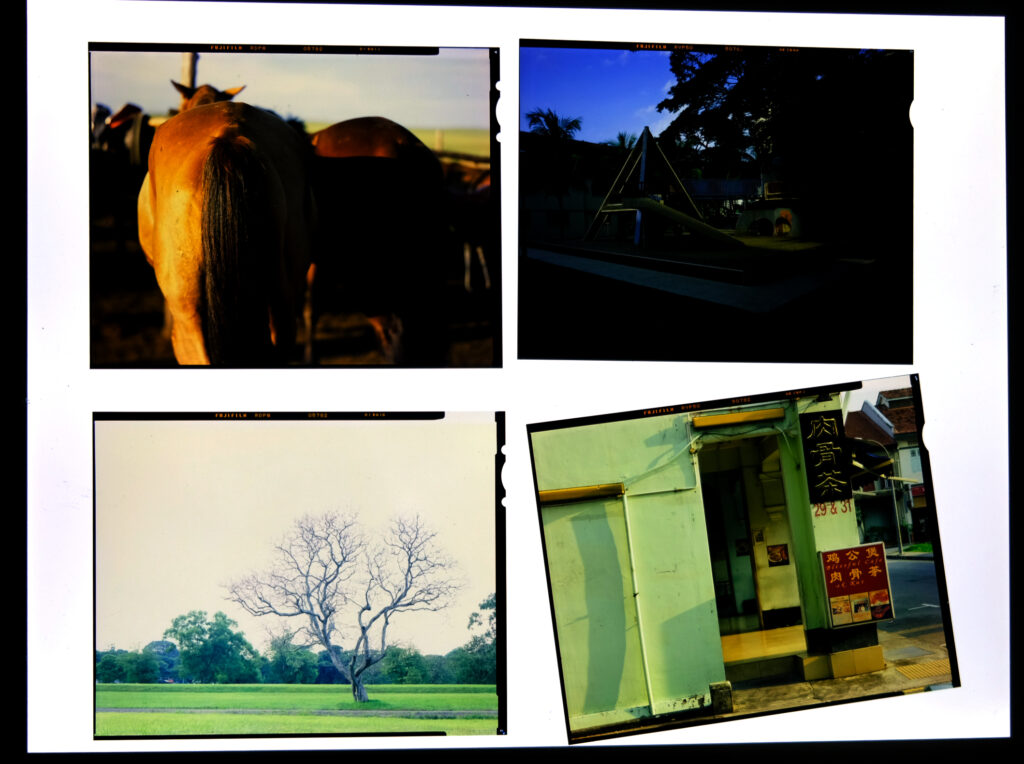
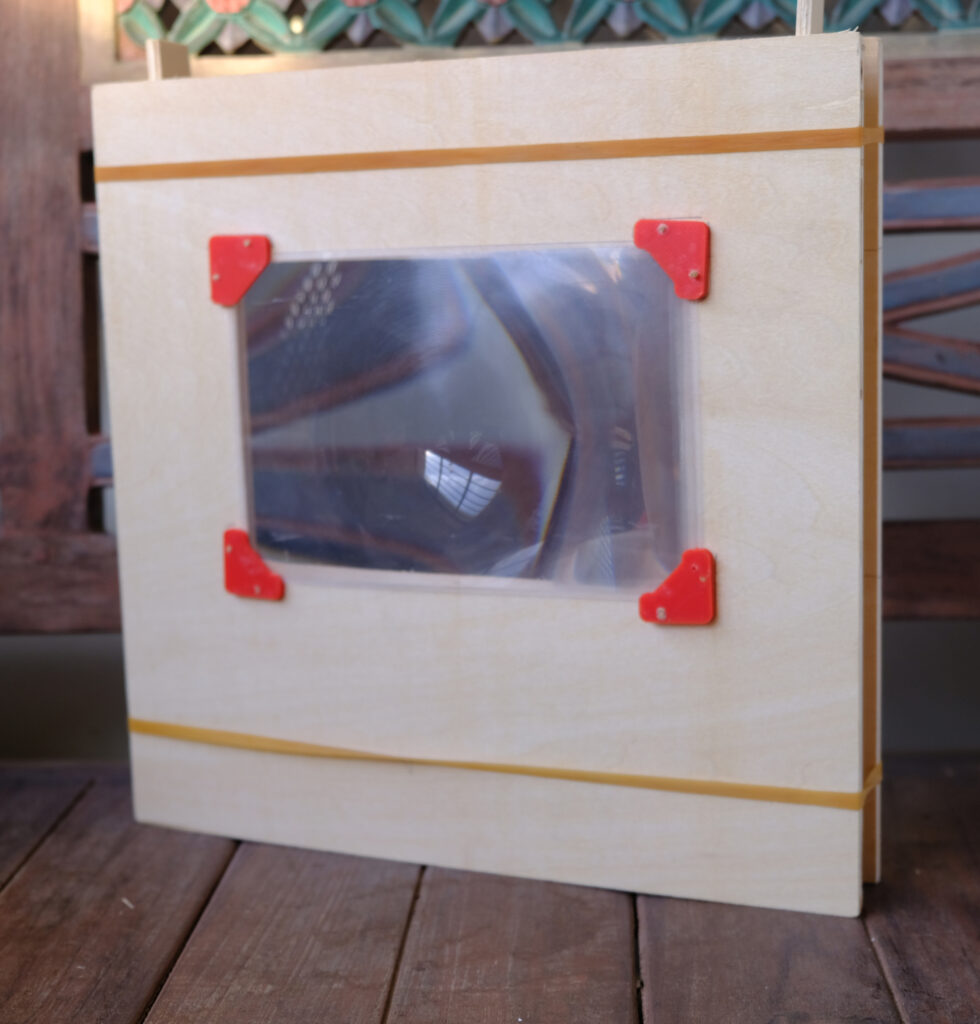
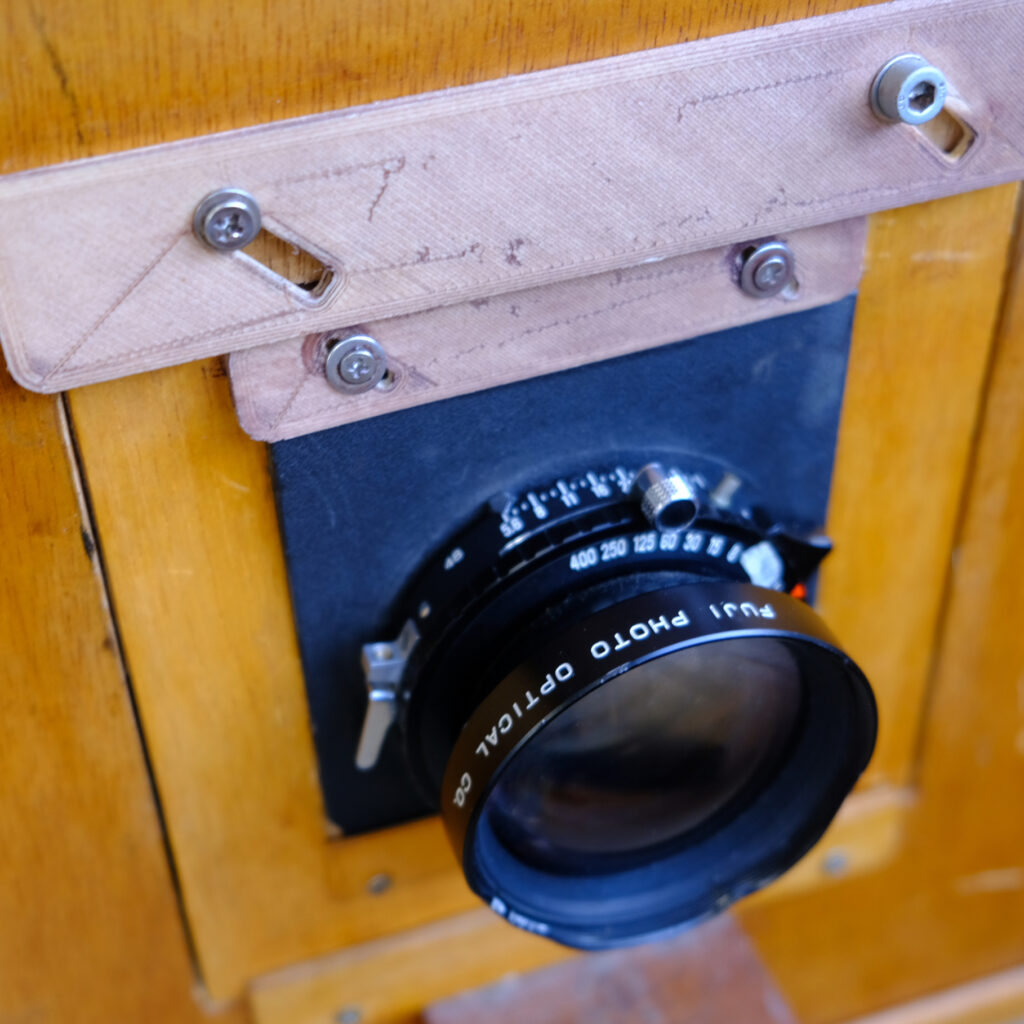
I decided to use my photo paper holder inside the Afghan Box Camera for this conversion. I taped up a 6x7cm window using some black PVC tape. If this is to be a more permanent setup, I would make a proper negative carrier for now. For now, this will do and I used some small pieces of masking tape to secure the 6×7 negative flat against the glass. To focus I would move the focusing rods per the usual way when using the Afghan Box Camera which move the negative towards or away from the lens.
Light Source
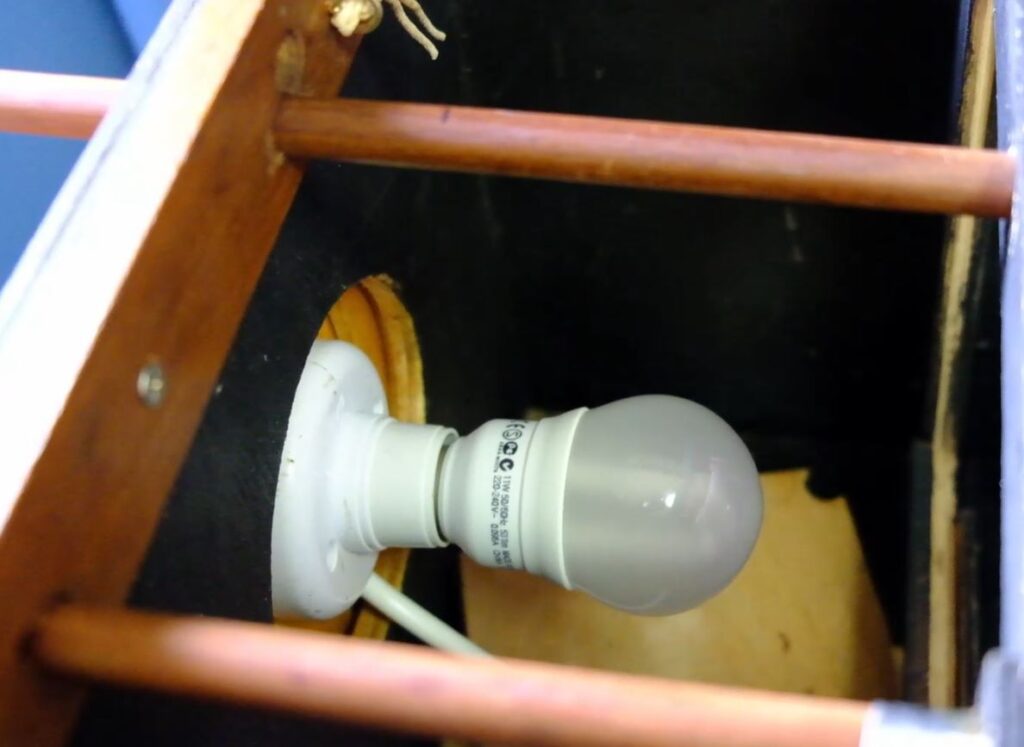
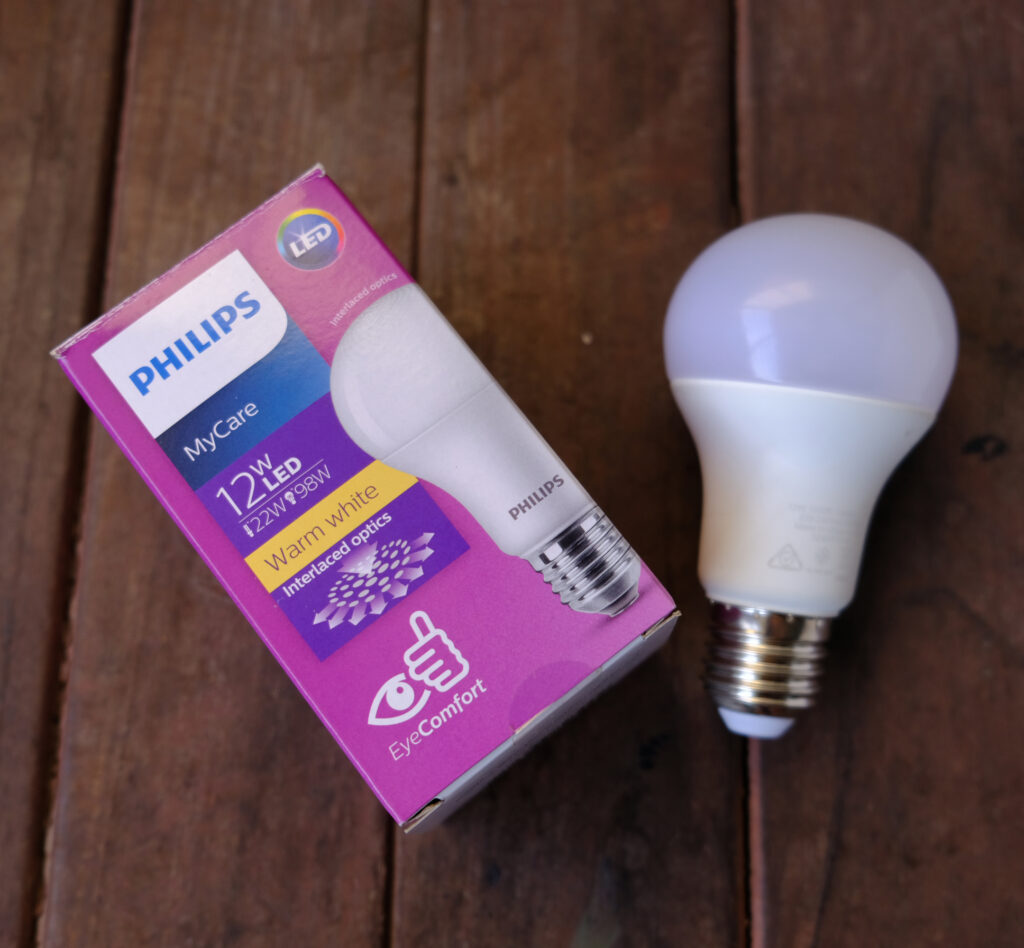
Unlike a light source for a slide projector, the enlargement is smaller so light source for this enlarger can be relatively less powerful. So I use a simple 11W warm color LED bulb. As I do not have a timer, I simply use the on/off switch for the bulb during printing to control the exposure time.
Lens
I do not have a dedicated enlarger lens so I use my trusty Fujinon 210mm lens as the enlarging lens. For a safe filter, I dug out an old Cokin red filter and a Cokin filter holder. I would just slip the filter and holder over the lens if I need to block the light from reaching the photo paper.
Paper
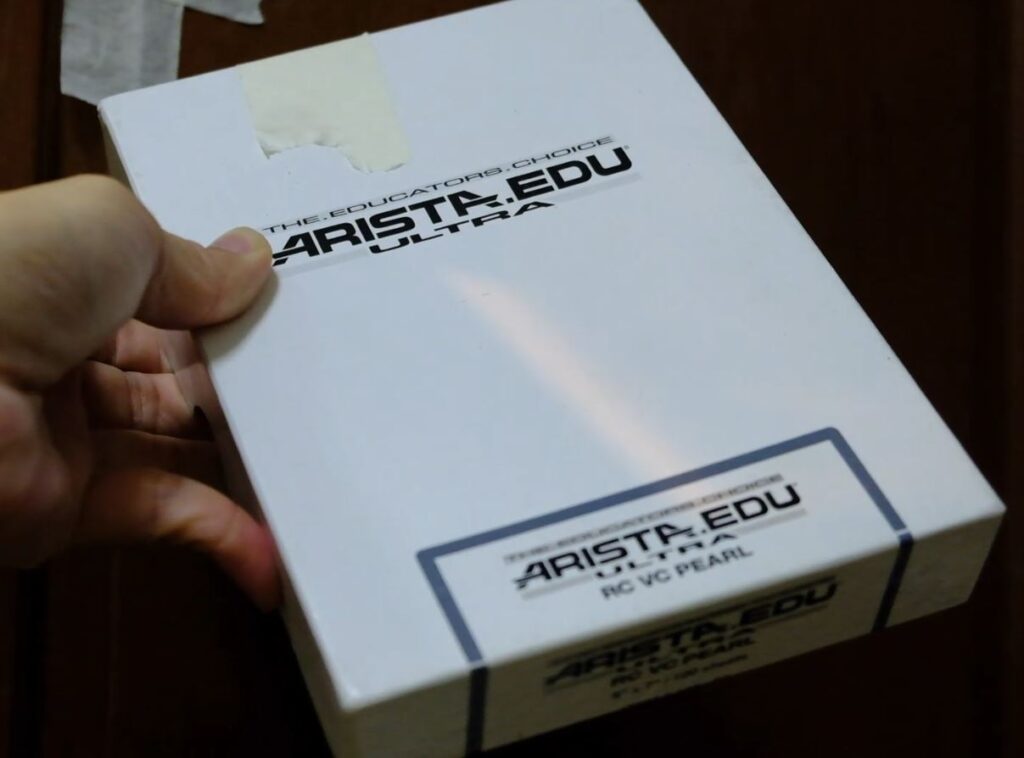
Arista Edu 5×7 inches Resin Coated paper
I use the Arista Edu 5×7 inches Resin Coated paper. Being a variable contrast paper, I could use the Ilford Multigrade Contrast filters to control the contrast of the print. Again, this is done simply by taping the filter on the rear element of the lens during printing.
Results
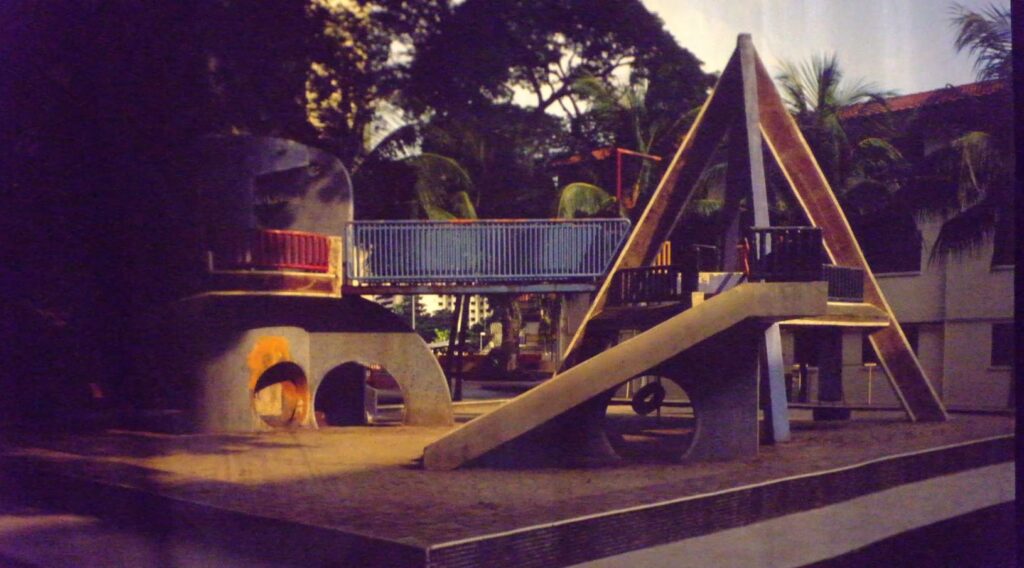
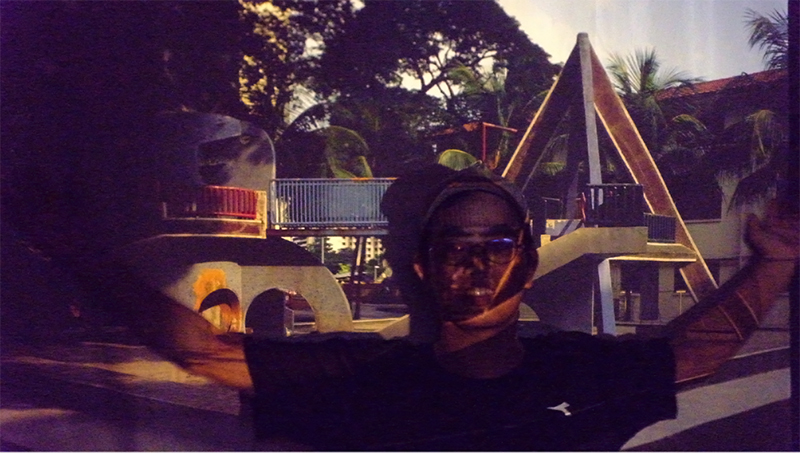
The results shown that the box camera can be easily turned into a photo enlarger by making a few changes to it
- Add in a light source
- Replace/convert the photo paper holder with/into a negative holder
- Add in safelight filter and contrast filter
Improvements
Nevertheless, a few improvements can be made
- Better way of holding the paper on the wall instead of just using masking tape.
- Some method to confirm the squareness of the enlarger to the photo paper
- Better way to hold the safe filter and contrast filters
Conclusion
Horizontal enlargers have been around for a long while and box camera users can consider turning their box camera int0 an photo enlarger if they need a quick print from a negative.